


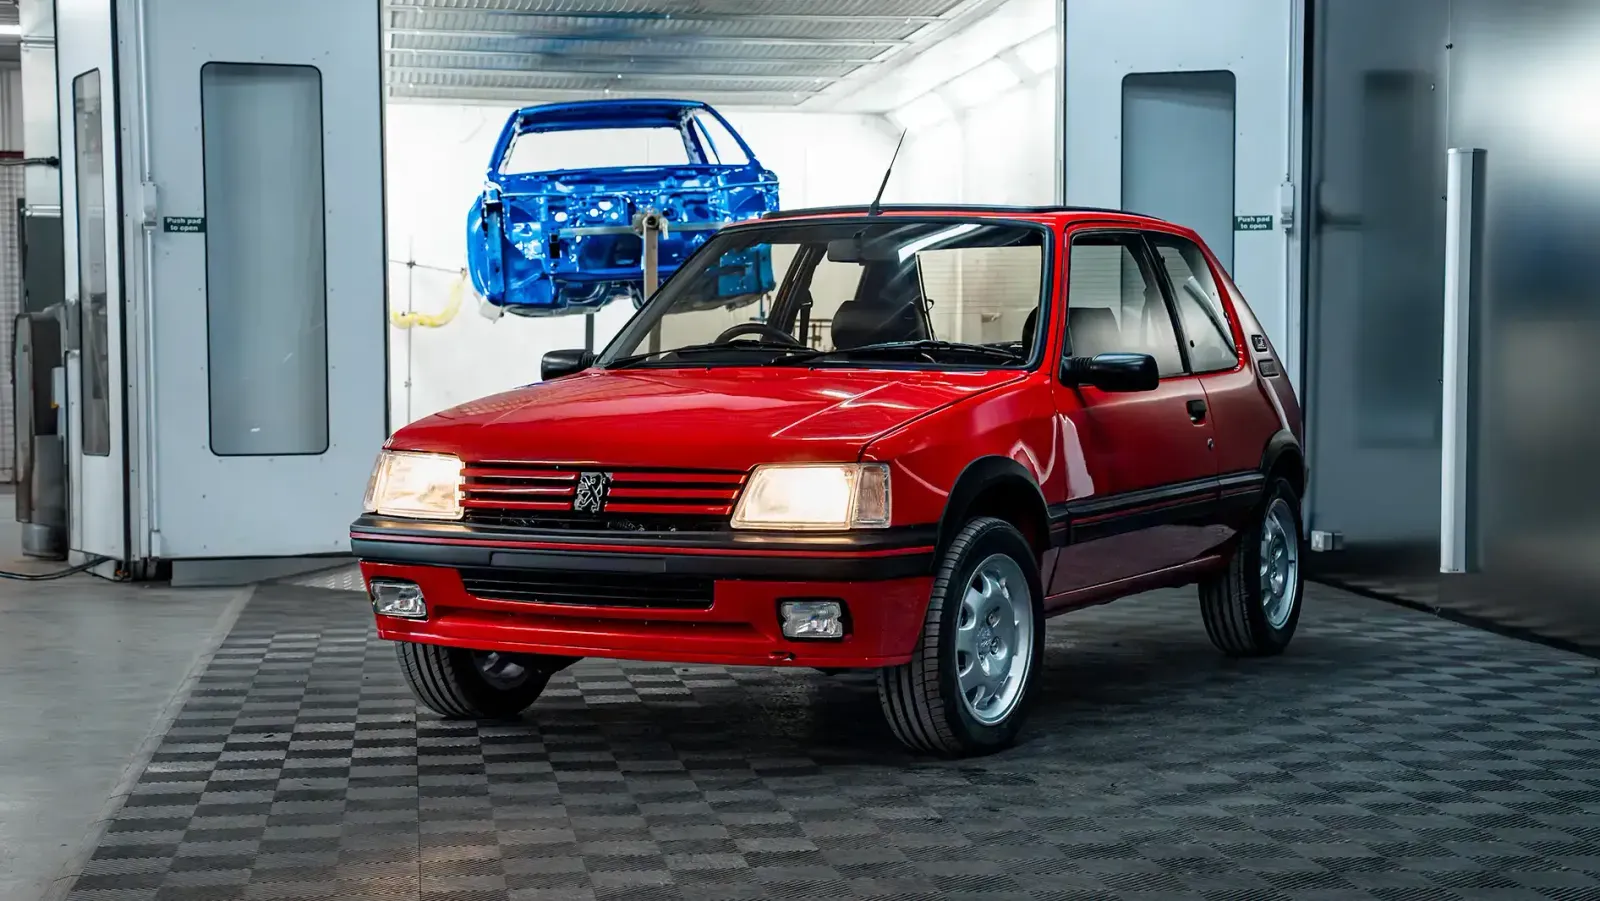

The commission begins: a running 205 GTI stripped to its core
The 1990 Peugeot 205 1.9 GTI arrived in running and driving condition, with several visible faults but a sound basis for the commission. The objective was not simply to refresh the car. It was to understand it completely, preserve the qualities that made the 205 GTI significant, and rebuild it to a standard capable of standing alongside the world’s finest classics.
The car was stripped to its bare shell and every removed component was catalogued for assessment, restoration or replacement. This first stage established the evidence-led scope for the body, engine, gearbox, suspension, trim and detail work that followed.

No items found.
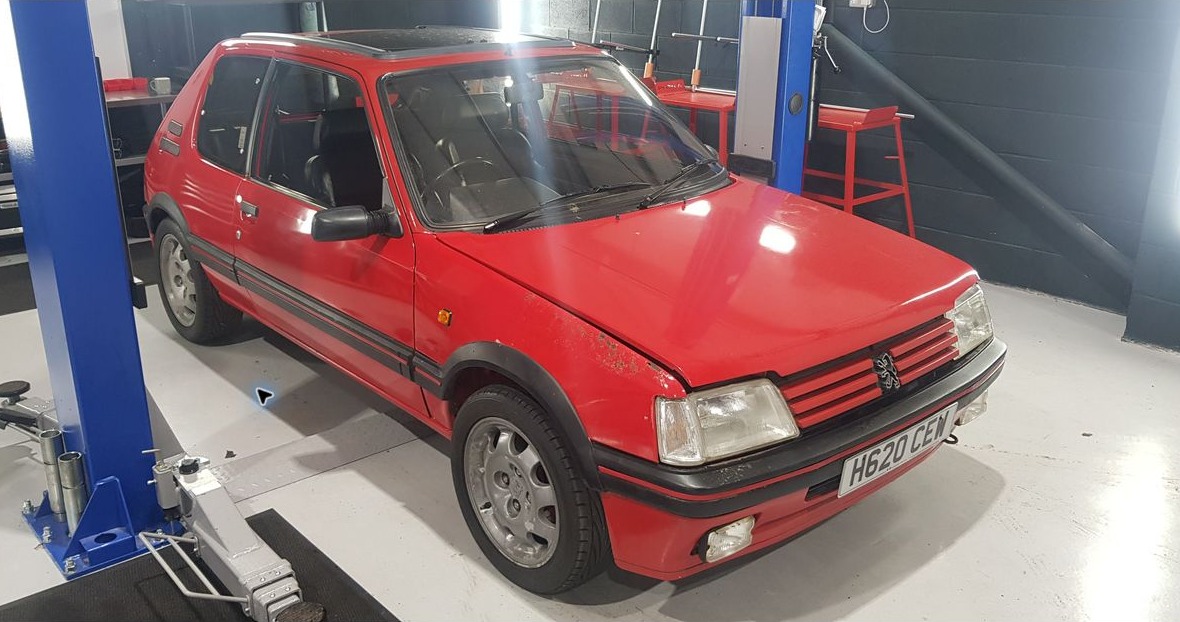
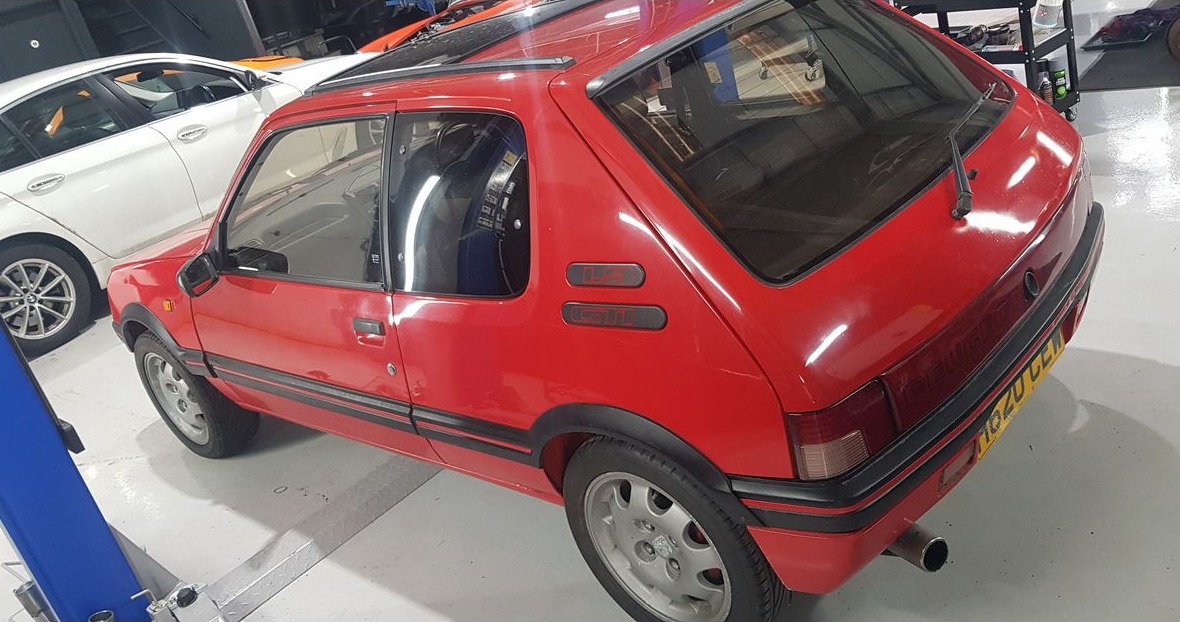
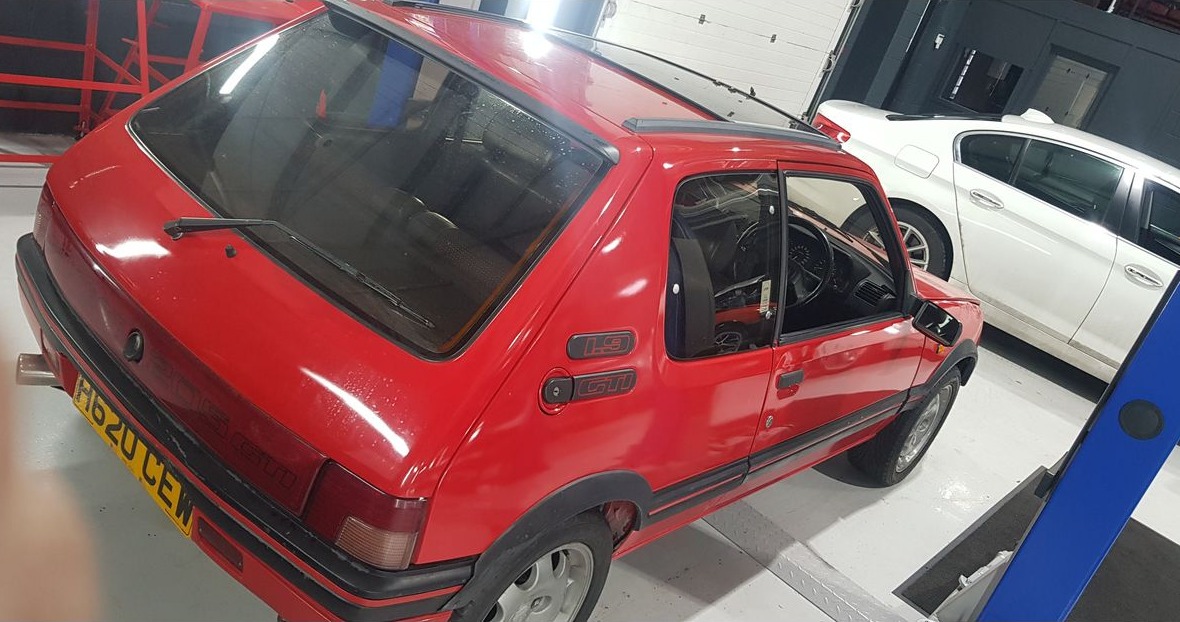
Our 205 GTI is a bit tatty and crusty
This car was still in use when we purchased it and its a bit crusty, showing signs of age but thankfully not too far gone


No items found.
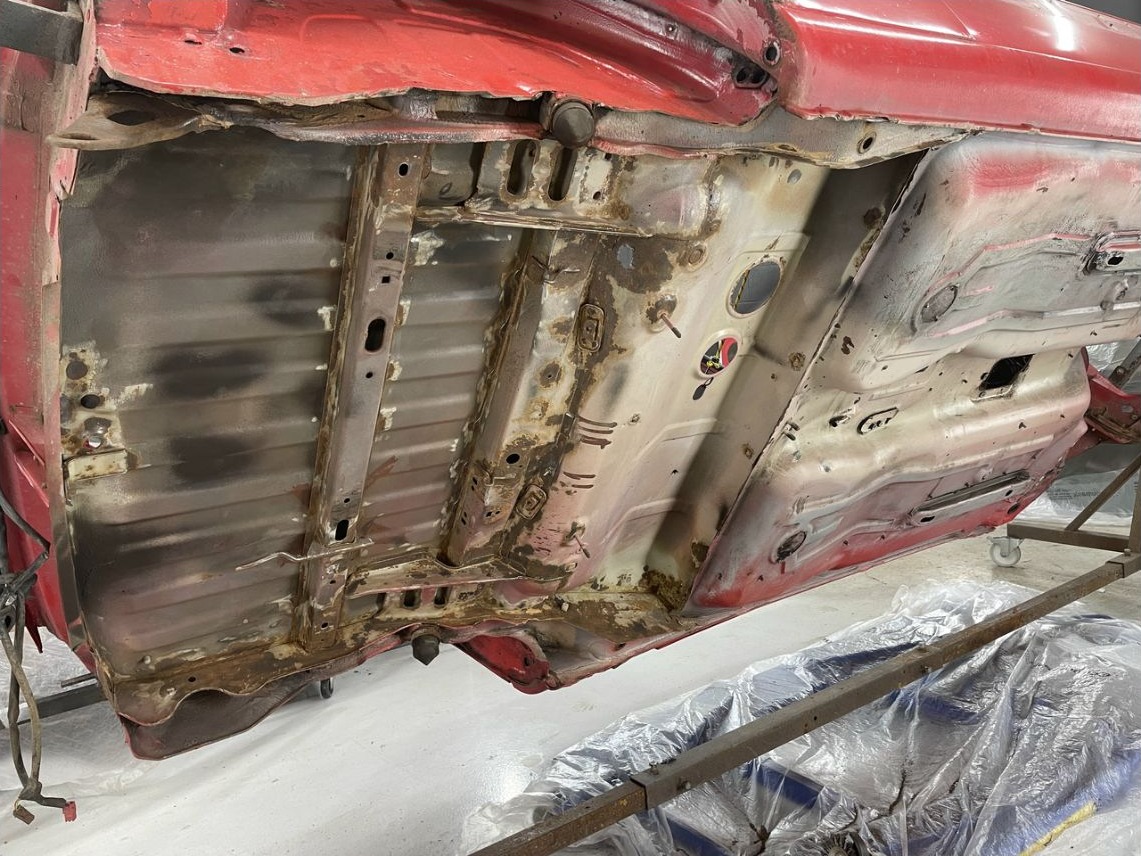
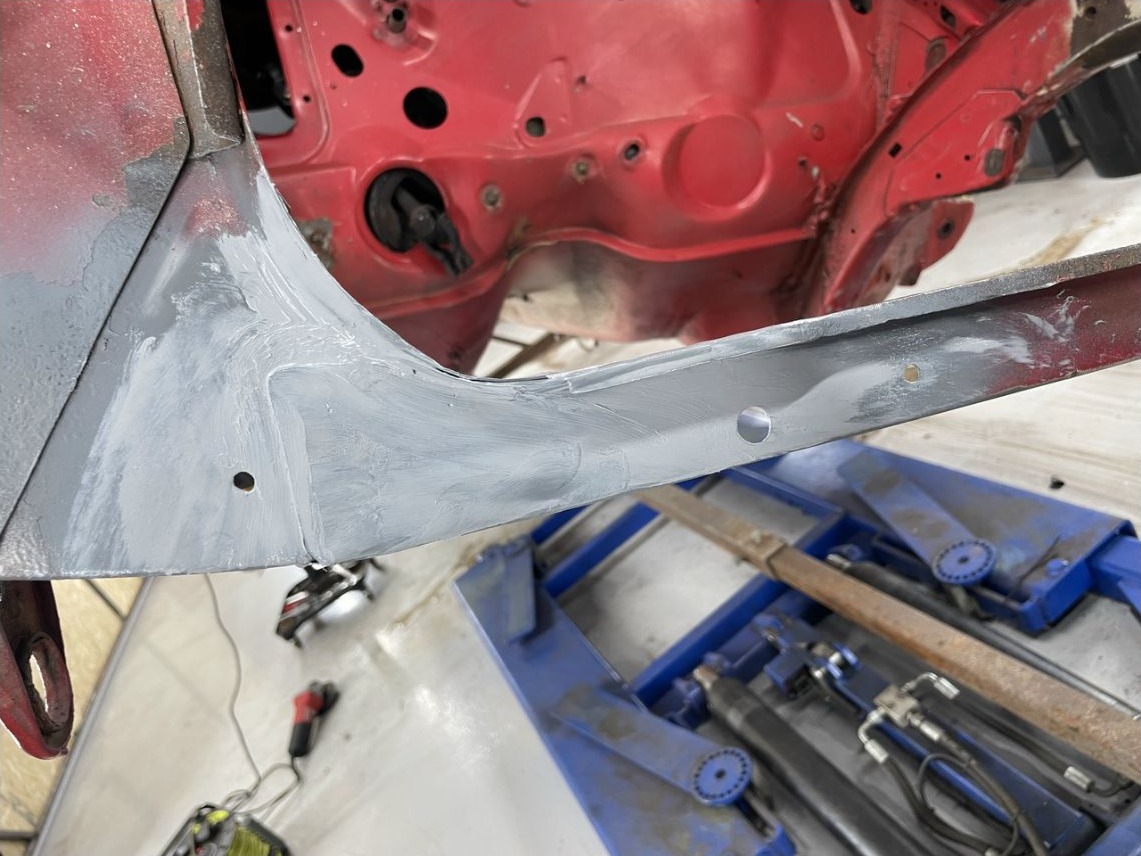
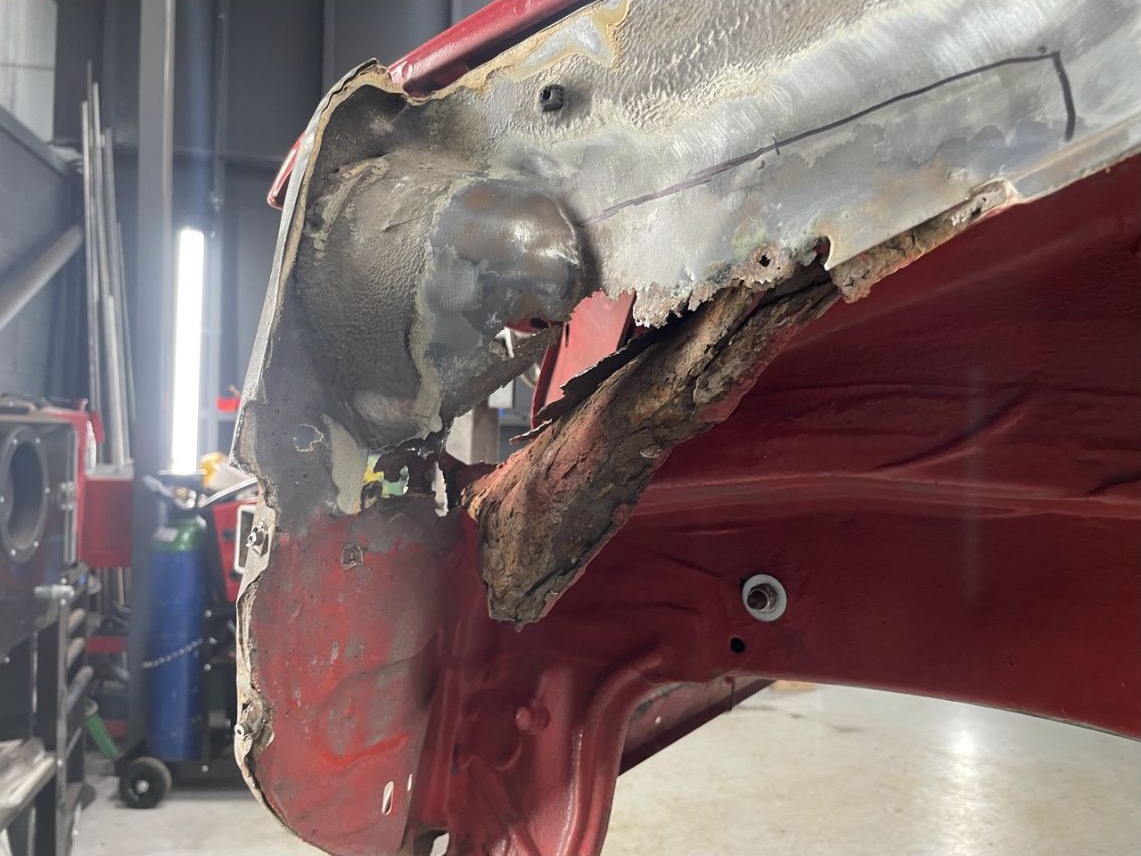
Hidden corrosion cut out and chassis integrity restored
With the car stripped, inspection revealed hidden corrosion within the chassis. Every affected area was cut back to sound metal and replaced rather than concealed. Once the repairs were complete, the full chassis was treated with rust inhibitor before moving into the paint process.
This principle continued across the shell as further work addressed the floors, jacking points, inner wings and roof structure. The result was a structurally sound, correctly aligned foundation—work that would largely disappear beneath the finished car, but ultimately determine its quality and longevity.
No items found.
stripped and ready for surgery
Preparing for this nut and bolt restoration means everything stripped, bagged & marked.


No items found.
Fabrication for our 205 GTI
Its bare metal, cut out the rust and fit fabricated replacement or off the shelf new parts. Where we can we keep the original metal to retain its history


No items found.
Peugeot 205 GTI Mixed media blasting
Due to the thickness of the underseal, it is more efficient for it to be removed by a wire wheel on an angle grinder. Then, once most of the underseal has been removed, it will be sand blasted to clean any remnants


No items found.
Gearbox strip and inspection
Today the gearbox has been stripped to inspect the internal parts. The gears are in ready good condition as well as the bearings.
While the case is separated they will be blasted to take them back to a factory finish.
The internals will be cleaned of old oil, inspected in more detail and them oiled with fresh oil of the correct specs before refitting into the fresh case.


No items found.
Underbody parts painted
Applied Hybrid Epoxy Anti Corrosion before applying Polycoat Protect once fully cured


No items found.
Rear seat floor section
The rear seat floor section had had a very poor repair done previously with multiple pin holes which had also made what material was left very thin and weak.The area was then cut out completely and a fresh new piece fabricated from scratch putting back in the original profiles for the captive bolt and the floor grommet hole. All internal areas coated with weld through primer and fully welded into place to create a seamless factory looking repair.


No items found.
Steering wheel completion
Hand stitching completed using the original loop and under stitch process.


No items found.
Epoxy primer
Cleaned and Painted the shell in anti- corrosion hybrid epoxy primer . Using the cavity gun to get the hard unseen area


No items found.
Driver Side Wing
The inner wing had some snapped bolts that were drilled out and the rivnuts replaced as some of the threads were damaged.The tabs to mount the lower section of the front wing were damaged also so new tabs welded on and rivnuts fitted.The pattern wing was a poor fit so getting them to sit nicely took some fettling of the edges and mounting points but sits better now.


No items found.
STP Flex
Stp flexed all the panel joint and areas in need ready for stp flow


No items found.
Sub Assembly
Today has been spent building as many sub assembly's as possible to speed the assembly of the car along when it's ready, I between ordering parts chasing suppliers and assisting colleagues in the bodyshop.


No items found.
Rear Seat Sewing
One backrest and seat have been sewn. We have used new webbing for the rear straps as old ones were worn and not strong enough.All seats and backs have had new velcro and calico tubing replaced with new to improve the strength and result in a better overall fit.


No items found.
Gearbox Assembly
Today we now have all the needed gearbox parts with us so I can now begin reassembling the gearbox. To begin with i used a scraper to clean off all the old gasket and sealant from the mating faces and made sure to degrease so the new sealant will be able to bond to the faces correctly.


No items found.
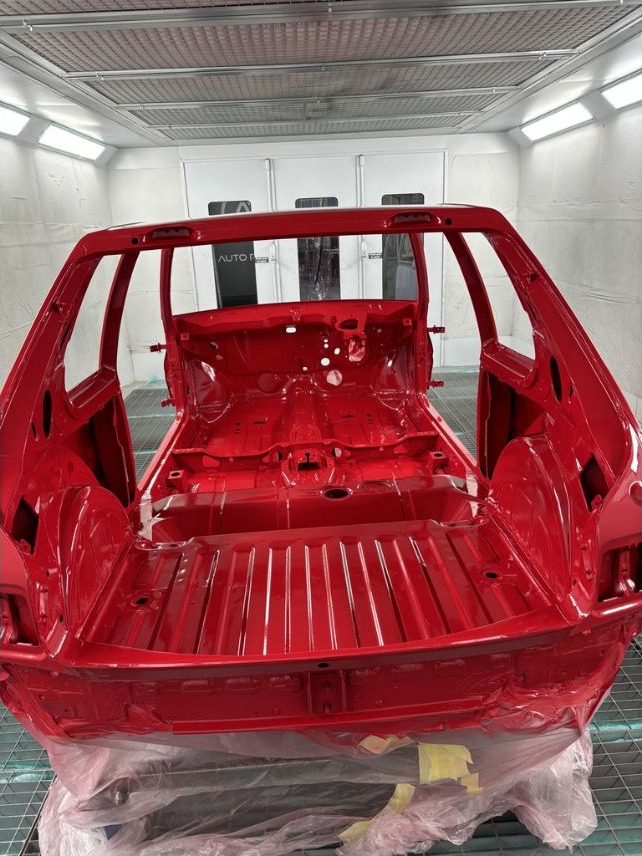
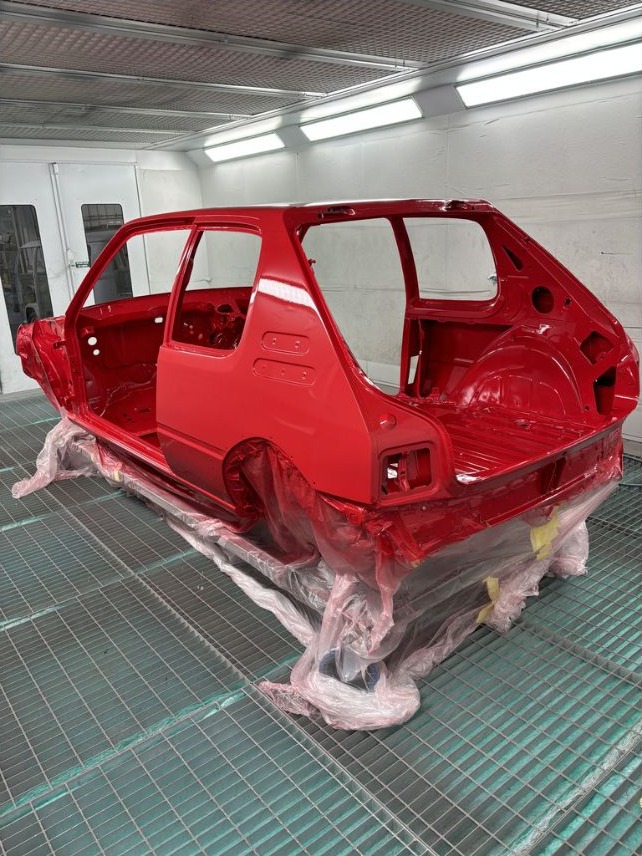
Paint Shell
Cleaned and masked up the shell. Applied isolated areas that needed . Base coat and clear


No items found.
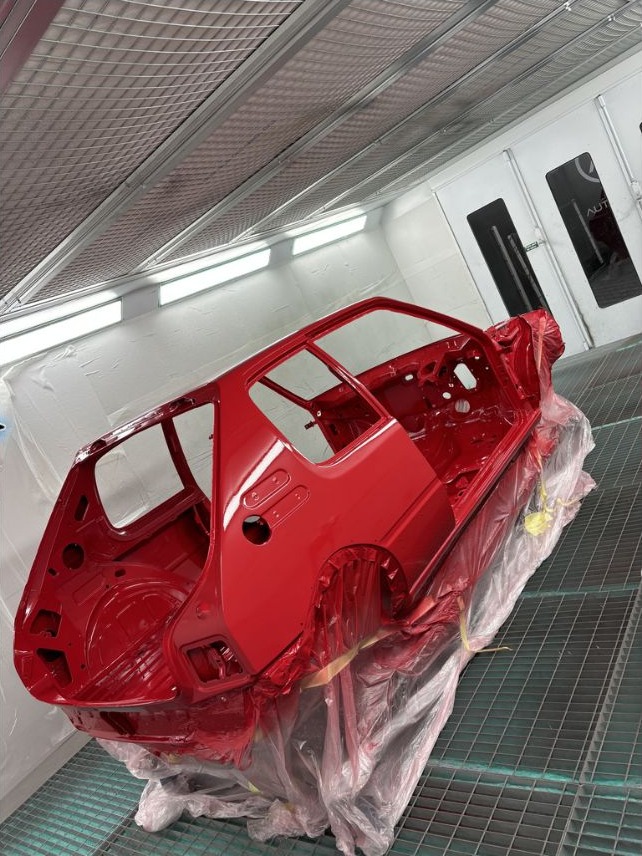
Factory-correct paint, controlled assembly and a concours-winning result
After repeated preparation and quality-control checks, the shell was cleaned and masked before receiving its factory-correct base coat and clear. Restored mechanical assemblies, refinished fixings and period-authentic interior components were then brought together through a controlled final build, with panel fit and finish judged as carefully as the visible paintwork.
The completed 205 GTI was presented at the Concours of Elegance at Hampton Court Palace in September 2025. Against a field defined by rarity and value, this accessible 1980s hot hatch won the Classic Car Restoration Showcase Award—recognition that the standard of a Collector Commission is established by authenticity, craftsmanship and execution, not by badge alone.
No items found.
Rear Subframe
This afternoon, I've installed the shockers onto the rear axel. We have replaced the shockers and shocker mount bolts as well as all the nits and washers. We also have replaced the nuts and washers that bolt the subfram into the chassie. Once the rear axel had been built together, We then installed the rear axel onto the chassie.


No items found.
Engine Bay
Today, I've installed multiple components into the engine bay.This includes the fuel regulator valve, which is also plummed in, the coil and H,T leads with the roughing plastic peace. The breather system has been fitted as well as the front bumper wiring harness and various brackets


No items found.
Dash and centre console installed
The final components for the dash have now been installed. This includes the following:
glove box and pasinger kick pannel
The drivers kick pannel
Both A-piller tip trims and bottom trims
The radio
Centre console and gearshift surround and boot
Handbrake lever cover.


No items found.
Final prep finished
This morning we have finished final prep for the NEC and photo shoot this morning.


No items found.


